필자가 추후 다시 참고하기 위해 작성한 글이다. (RHEL 9.4 기준)
# xfs 포맷

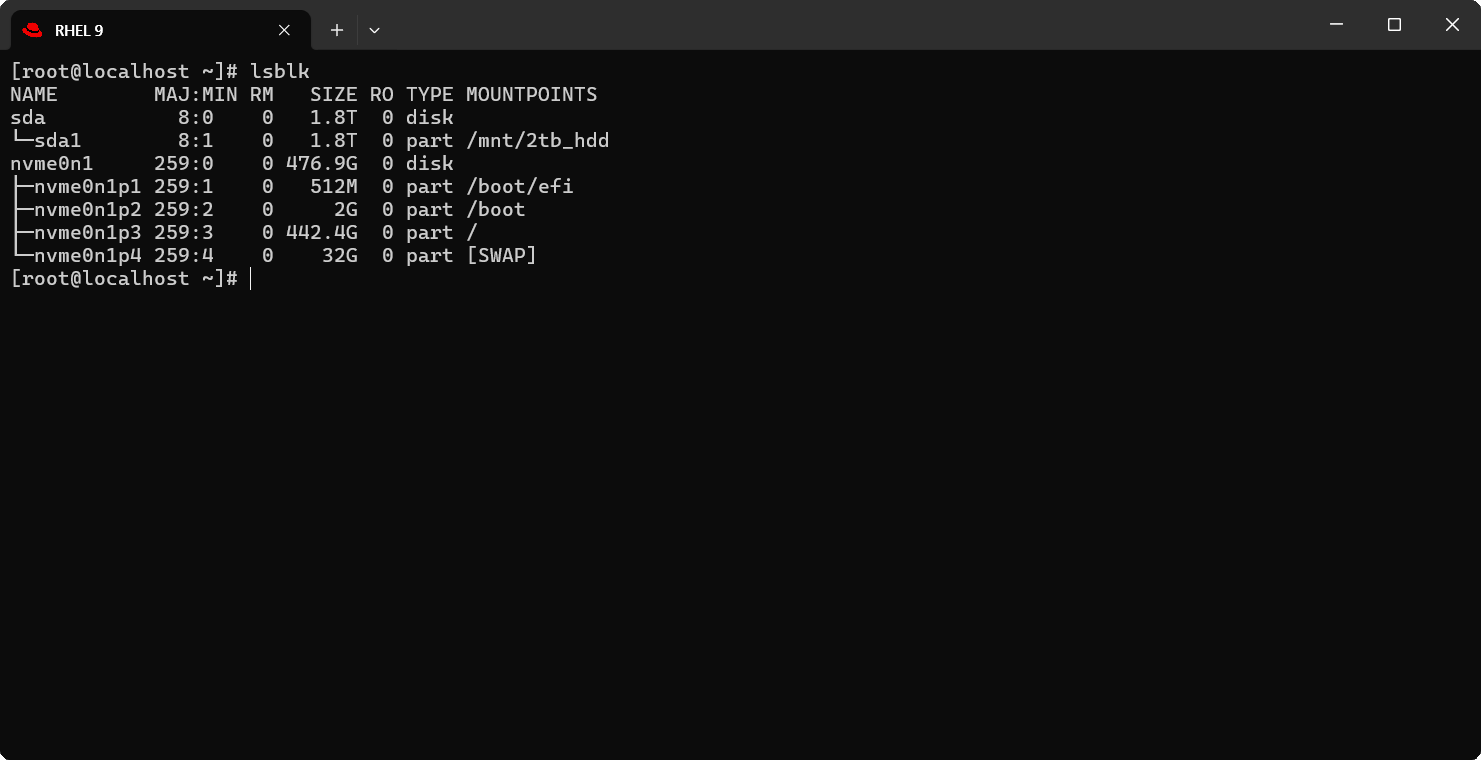
lsblk
(포맷할 디스크 확인)

parted /dev/sda

mklabel gpt

mkpart primary 0% 100%

print (디스크 확인)

quit (parted 빠져나오기)

lsblk
(sda 디스크 확인, sda1이 있으면 정상)

mkfs.xfs /dev/sda1

mkdir /mnt/2tb_hdd

mount /dev/sda1 /mnt/2tb_hdd

blkid /dev/sda1
(GPT 파티션 UUID 확인)

nano /etc/fstab

UUID=xxxxxxxx-xxxx-xxxx-xxxx-xxxxxxxxxxxx /mnt/2tb_hdd            xfs     defaults        0 0
(fstab에 추가)
# vhdx to qcow2
qemu-img convert -p -f vhdx -O qcow2 [원본 VHDX 파일 경로] [대상 QCOW2 파일 경로]
qemu-img convert -p -f vhdx -O qcow2 input.vhdx output.qcow2
# vmdk to qcow2
qemu-img convert -p -f vmdk -O qcow2 [원본 VMDK 파일 경로] [대상 QCOW2 파일 경로]
qemu-img convert -p -f vmdk -O qcow2 input.vmdk output.qcow2
(vSphere 기준 .vmdk와 -flat.vmdk가 같이 있어야 함)
# vmdk to vhdx
qemu-img convert -p -f vmdk -O vhdx [원본 VMDK 파일 경로] [대상 VHDX 파일 경로]
qemu-img convert -p -f vmdk -O vhdx input.vmdk output.vhdx
# vmdk to vhdx (고정 크기)
qemu-img convert -p -f vmdk -O vhdx -o subformat=fixed input.vmdk output.vhdx
-p : 변환 작업의 진행률을 표시
-f vhdx : 입력 파일의 형식을 VHDX로 지정
-f vmdk : 입력 파일의 형식을 VMDK로 지정
-O qcow2 : 출력 파일의 형식을 QCOW2로 지정# 디스크 안전하게 제거
lsblk
(디스크의 MOUNTPOINTS 확인)
umount /mnt/temp
udisksctl power-off -b /dev/sdb
udisksctl은 디바이스의 전원을 끄는 옵션을 제공한다.
udisksctl로 외장하드의 전원을 끄면 안전하게 PC와 분리가 가능하다.# screen 기본 사용법
screen
(screen 세션 시작)
작업 중 세션을 유지하면서 나가고 싶은 경우
Ctrl + a를 누른 다음 d를 눌러 세션에서 분리
나중에 터미널에서 screen -r을 입력하여 분리한 세션에 다시 접속# rsync 진행률, 속도 표시
rsync -ah --progress /mnt/a/test.qcow2 /mnt/b/
-a: 아카이브 모드로, 디렉터리를 재귀적으로 복사하고 심볼릭 링크, 퍼미션, 타임스탬프, 그룹, 소유자 등을 보존
-h: 출력을 보기 쉽게 읽을 수 있는 형태로 표시
--progress: 진행 상태를 표시하며, 파일 복사 진행률 및 속도 정보를 제공
퍼미션, 심볼릭 링크 등을 유지하지 않고 파일만 복사하면 되는 경우에는 -a 플래그를 제거한다.
rsync -h --progress /mnt/a/test.qcow2 /mnt/b/
파일을 복사하고 원본 파일을 삭제하고 싶은 경우 --remove-source-files 플래그를 사용하면 된다. (mv와 유사)
rsync -ah --progress --remove-source-files /mnt/a/test.qcow2 /mnt/b/
rsync -h --progress --remove-source-files /mnt/a/test.qcow2 /mnt/b/# 파일 해시 확인
sha1sum test.qcow2
md5sum test.qcow2# 네트워크 메트릭 (Red Hat Enterprise Linux 9 기준)
# nmtui > 연결 편집 > 이더넷 인터페이스 > 라우팅 > 편집 > 추가 > Destination/Prefix: 0.0.0.0/0, Next Hop: 192.168.0.1(Gateway), Metric: 100 > 확인
위와 같이 nmtui로 메트릭 적용을 해도 RHEL 9에서는 적용이 안 된다. 이유는 모름.
# RHEL 9에서 Metric을 확실하게 적용하는 방법이 있다.
# 첫 번째 방법 (nmcli 이용)
nmcli connection modify [네트워크_인터페이스] ipv4.route-metric [Metric]
nmcli connection modify enp6s0 ipv4.route-metric 100
nmcli connection modify enp1s0 ipv4.route-metric 101
systemctl restart NetworkManager
ip route (Metric 확인)
# (Wi-Fi 인터페이스) 첫 번째 방법 (nmcli 이용)
nmcli connection modify [WiFi_SSID] ipv4.route-metric [Metric]
nmcli connection modify FortiAP_12 ipv4.route-metric 102
# 두 번째 방법 (인터페이스 파일을 직접 수정)
nano /etc/NetworkManager/system-connections/[네트워크_인터페이스].nmconnection
nano /etc/NetworkManager/system-connections/enp6s0.nmconnection
_____________________________________
enp6s0.nmconnection 파일
[ipv4]
address1=192.168.0.80/24,192.168.0.1
dns=1.1.1.1;1.0.0.1;
method=manual
route-metric=100 (Metric 값)
_____________________________________
systemctl restart NetworkManager
ip route (Metric 확인)# SSD TRIM 적용에는 세 가지 방법이 있음. discard를 이용하는 방법, fstrim.timer를 이용하는 방법, 수동 트림인 fstrim이 있음.
______________________________________________________________
# SSD TRIM 적용 (discard)
lsblk --discard (디스크가 TRIM을 지원하는지 확인)
DISC-GRAN, DISC-MAX가 0B가 아니면 TRIM을 지원
nano /etc/fstab
UUID=xxxxxxxx-xxxx-xxxx-xxxx-xxxxxxxxxxxx /mnt/1tb_ssd xfs defaults,discard 0 0
# defaults 옆에 ,discard를 추가하면 된다. /boot/efi, /boot는 TRIM을 하지 않아도 된다. swap 파티션은 TRIM을 하는 것이 좋다.
# fstab에 TRIM을 적용하면 데이터가 삭제될 때 실시간으로 TRIM이 진행된다.
# 루트 파티션은 fstab에 discard를 해도 TRIM이 적용되지 않는다고 한다. RHEL 8, 9 기준 grubby --update-kernel=ALL --args="rootflags=discard" 명령어를 실행하면 된다. (fstab에 discard를 적용하지 않아도 discard가 적용된다.)
______________________________________________________________
# fstrim.timer 이용 (자동 실행 스케쥴)
lsblk --discard (디스크가 TRIM을 지원하는지 확인)
DISC-GRAN, DISC-MAX가 0B가 아니면 TRIM을 지원
systemctl enable --now fstrim.timer
systemctl status fstrim.timer (타이머 상태 확인)
systemctl list-timers fstrim (TRIM 수행 날짜, 다음 TRIM 자동 실행 스케쥴 확인)
journalctl -u fstrim.service (TRIM 수행 log 확인)
______________________________________________________________
# 수동 트림
fstrim -v [디렉토리_경로]
fstrim -v /# 가상화 지원 여부 확인 (IOMMU 등)
virt-host-validate